Showing posts with label etsy. Show all posts

Monday, June 1, 2009

Customer Appreciation Event

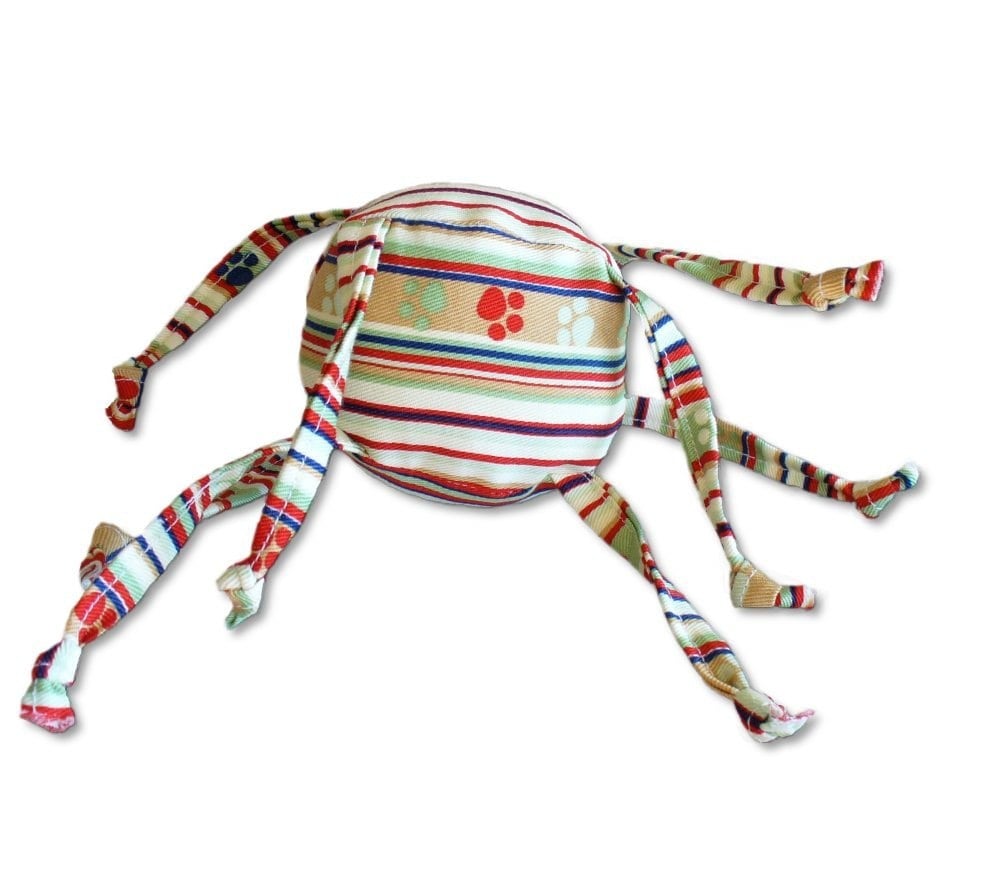
The EtsyBaby Team is having it's Second Annual Customer Appreciation Event!
This is the perfect time to get some GREAT deals on all kinds of handmade goodies for your baby - and to stock up on baby shower gifts!


I'm using this opportunity to say "THANK YOU" to my customers!
From now until June 12, receive 15% off your order!

On Etsy - Include "EtsyBaby" in notes to seller. Wait for a revised paypal invoice.
On www.zadyball.com - use coupon code "THANKYOU".

Happy Shopping!

Tuesday, July 29, 2008

Help me decide - GIVEAWAY!

VOTING HAS BEEN CLOSED! THANK YOU TO ALL WHO PARTICIPATED!

Etsy is having a Handmade Kids Challenge. Basically, they are going to choose 3 winners from 7 different categories. Obviously, the only category I really fit into is Toys. But, I can only enter one item. I want to use one of my new "faces" designs, but I'm having hard time deciding which one.

SO, I thought it would be fun to have a little contest myself.

Here's the deal:
Leave a comment to vote for your favorite - OR suggest a different idea that you think would be really cool. (Please be practical though -- I can only do so much!)
Be sure to leave contact information (email address) so that I can get in touch with you if you win.
Easy Peasy!

The winner will receive their choice of ZadyMINI ($10 value). Yippee!

Here are the current choices:

Hoots the OwlMarvin The SpiderRobbie the Robot Monster
BABY Hoots the OwlFetch the DogOliver the Orange Cat


Voting will close August 9th at 12:00 noon (Arizona time).

Tuesday, June 10, 2008

I can't believe I won!

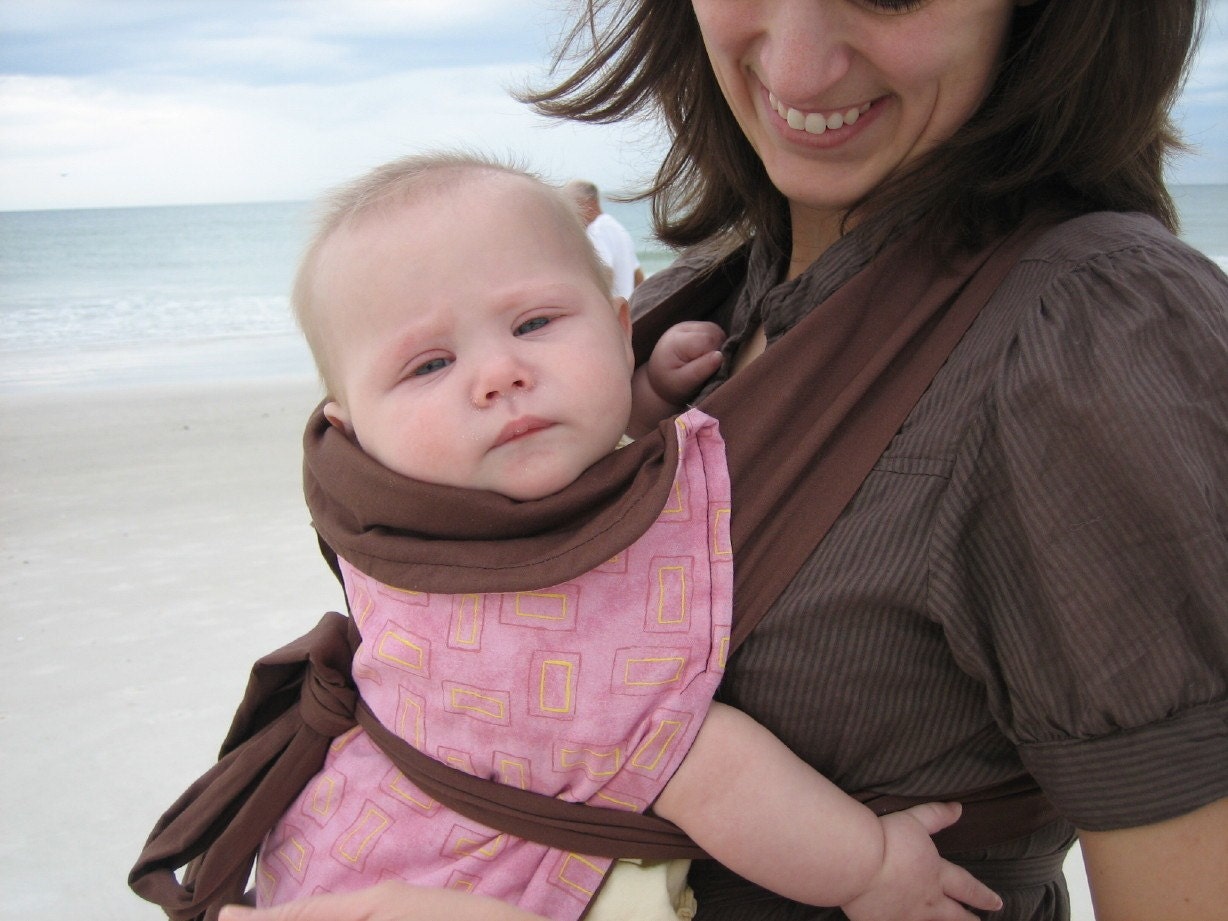
So, what seems like FOREVER ago, I came across a post on the Etsy Forums from a fairly new shop - luckybugboutique. She was trying to get people to look at her shop, and what better way than to have a contest! All anyone had to do to enter was to mark her shop as a favorite. Very easy to do as she has some great items - Mei Tai baby carriers. I thought, sure, I'll enter. I know people that could use that.
Well, imagine my surprise to find out that I WON! And since now I'm pregnant, I'm keeping this one for myself! It came in the mail today, and it is SO beautiful! What a wonderful prize! And I have several months to figure out exactly how to use it...


Check out luckybugboutique to get one of your own!

Friday, May 30, 2008

Inspired by my children - again!

So, a month or so ago, I did a craft fair that offered to give $10 off the entry fee if I had a game for children in my shop. So, I took a couple of Zadyballs that didn't turn out exactly perfect and instead of filling them with my normal polyfil, I filled them with beans and turned them into bean bags. They got quite a bit of play at the craft fair, and I even used them as "cannons" for Zander's birthday party. But, I never thought that I would actually do anything else with them...

Until today...


Zander started throwing them around with his dad. He is four, and has pretty much always been good at throwing a ball, but not so good at catching one. But, using the Zady bean bag, it was much easier for him to catch! The strings made something extra for him to grab on to, and since they are a bit heavier than a normal Zadyball, it is easier to throw and catch. Watching him play with it made me think.... hmm.... maybe ZadyBEAN for bigger kids? The idea needs a little fleshing out, I think, but it could work!

Wednesday, February 20, 2008

My Latest Creation

Here's the latest creation that I've been working on.
I've had the butterfly idea for a while, but I couldn't figure out how to implement it. I tried making a long, skinny ball for the body, but it looked a little too much like poo with wings. O_o

And, I tried putting wings on one of the larger sized balls, but that didn't look right either. It reminded me of Heimlich from Bugs Life - big body with tiny wings.

So, when jkalea asked me to make an ant for her, I thought - hey, this might work! And I think it does!!

It has some imperfections, so this one is not for sale (my daughter has already claimed it), but I'd like to show it off and get some opinions.

It is about 10 inches long with a "wing span" of about 11 inches. Most of the fabric is flannel, except for the back of the wings, which is velour.

Friday, February 15, 2008

Famous Buyer!

Wow! I am SOOOOO excited!
Someone FAMOUS purchased from my Etsy shop tonight! At first, I thought it might be some kind of joke or something, so I looked the address up. It's a real address. I looked the person up on Wiki - yes, they live in that town. Plus, the email address is @ the "official" website! So, I'm pretty convinced that it is the REAL DEAL!

I posted about it on the Etsy Forums, and people BEGGED me to tell who it is, but I really don't feel like I should do that without permission. I'd like to respect their privacy.

But, here is what they bought - and unfortunately, I think this is the last of the fabric I have of BOTH!
:(

Tuesday, February 12, 2008

One of my favorite Etsy buys - from KnitStyle

One of my favorite items I've purchased from Etsy was "Grace Bear" from KnitStyle. I bought it for my daughter because it looked oh so soft and I thought she'd like it. When we got it, it was even better than I had imagined! It is SO soft, and the perfect size for my little one to carry around.

And, she loves it so much! She even sleeps with it and calls it her bear.


KnitStyle has a wonderful shop full of lovely things for babies and grownups too!


Wednesday, February 6, 2008

Zadyball locations

I thought it would be fun to make a map of all the locations I have sent Zadyballs to. So I entered them all (over 100) into Google Maps and here's the result. I used city and zip code only.

I think it's interesting to see where everything falls. I need to get more "in the middle" states. I've got lots on the west coast, and lots on the east coast, but not many in the middle. I'd love to have more international sales too! :)

Tuesday, February 5, 2008

Turning into a real business

I think that my family and friends are getting tired of my talking about my business ALL THE TIME. But, it's really the major thing that's going on in my life right now - besides my kids of course.
I went and talked to a lawyer on Friday. With the way things are going, I think that I really need to protect myself, and my idea. The lawyer recommended that I get started on a trademark and a patent. Total cost for both will be around $3000! I of course do not have that kind of money to fork out right now. I'm hoping that things will go so well that I will soon. He also said that I should become an LLC. I looked into that, and it's pretty easy. I've got all the paperwork filled out and ready to go, it just needs mailed. I should do that tomorrow.
So, after the lawyer, I went to the bank and set up some business accounts. I have a checking, savings, and now a credit card with a surprisingly large limit! So, I guess that I can use that to cover some of my expenses.
Speaking of expenses - I decided that I need to have some kind of label attatched to my Zadyballs with care instructions printed on it. I have some really nice lables from jennifersjewels.etsy.com, but I've gone through two orders of them now, and I need something a little more versitle and a little less expensive per lable. I contacted a jamylabels to get a quote on that today. $62.50 for 500 labels - plus a one time engraving fee of $75 and $12 shipping. A little bit pricy to start, but it should be plenty to last a while.
Oh - by the way - it's just amazing how nice people are to you if they think you are going to give them money. I think even more so when you are a business so they think there is a real possiblitly that you might have money - at least someday.

I'm SO excited about the craft fair this weekend. I've been working almost constantly to get an inventory built up. It's not like I don't have plenty of fabric (I have TONS). It's just a process to get them all made. I've been going through a lot of thread and poly-fil. I've lost count of how many I have done. I'm hoping to have somewhere between 50 and 100 by Saturday. I hope they sell - cause I don't have anywhere to store them!

Monday, February 4, 2008

Craft Fair

I'm so excited about the craft fair I was invited to participate in this weekend! It is really the first one that I've ever done, so I'm not quite sure what to expect. I've been working hard to get lots of inventory ready, and I hope I have enough.

If you're in the Phoenix area, be sure to stop by!


Thursday, January 17, 2008

Featured Etsy Seller - TutuMonkey

I thought it would be fun to feature some Etsy sellers that I have purchased from. I've probably bought more than I need to, but I've been so happy with almost all of them!


TutuMonkey was one of the first sellers that I "met" on Etsy. The first thing that I bought from her was a "Noggin Topper". This is such a wonderful idea! It is perfect for any little girl - even if they don't have much hair, like mine. My daughter wore the Noggin Topper for holiday pictures, and they turned out SO cute!

I went BACK to TutuMonkey and purchased a "wand" for my daughter for Christmas. These are SO great because they don't have a long stick to beat on other kids! :) Plus, it has great words decopaged all over it, and super long strings to make it truly "magical".

Dana from TutuMonkey is awesome to work with - and a really great person! So, go check out her shop!


Wednesday, January 16, 2008

The ORIGINAL – One of a kind – Zadyball

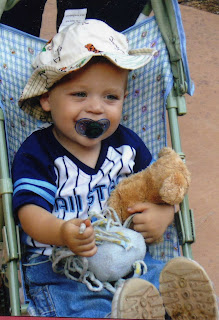
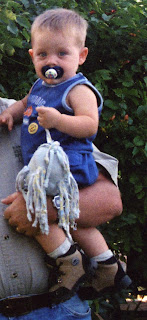
PREFACE: Please, please, PLEASE do not base my current work on my son’s Zadyball. This is the original, experimental, not for sale, made just for him. This was made over three years ago, and has been VERY loved. Zadyball has evolved and improved greatly since this one was created.

When the Storque article came out on Etsy about the “Etsy Love Challenge”, the first thing that came to mind was my son’s original Zadyball. I thought it might be fun to share how this creation came to be.
When my son was about 6 months old, he had a toy giraffe with a knotted string for a tail. He loved playing with the string, and would rub it to help him fall asleep. He had a few other toys that had one or two strings and he just LOVED to rub them.He loved it so much, that I thought it would be great to create something for him that had lots of strings for him to play with. So, that is how the Zadyball was born -- out of love for my son.
He is now three and a half and still sleeps with that original Zadyball – although he has several others that he has begged me for since I started making them to sell.

When he was younger, he carried that Zadyball with him EVERYWHERE we went. I’d have to sneak into his room while he was asleep and try to pry his fingers off of it, just so I could wash it. Now that he has a younger sister, he keeps it hidden in his room so that she can’t get a hold of it. I had to beg him just to let me get a picture of it.

So, I guess that this story is not just about my love for my son, but about his love for his very favorite, most prized toy that has been with him as long as he can remember. Even though – yes, I admit it – it’s falling apart, and no where near its original color, he still loves it.

What it used to look like:
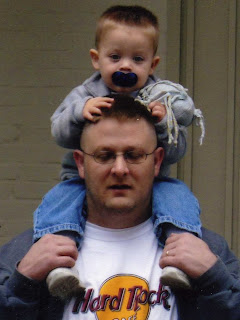


And what it looks like today :)

Friday, January 4, 2008

How to remove the background from your images using The Gimp

UPDATE -- I have to apologize - I originally created this tutorial using Gimp
version 2.2. I did not realize that the current download availible is version
2.4. I have updated to the current version. Sorry for the confusion!

When I started selling on Etsy, I really struggled with getting the right
background for my images. I tried a few different things, but never really
liked it. Then I noticed a few sellers with great image pictures on a pure
white background. (Thanks, strumpfkunst!)I
wondered “how did they do that?!” When I looked closer, I realized that the
picture wasn’t taken that way, they took the background out AFTER the photo was
taken.

I’ve been using The Gimp for a while now to do some basic photo manipulation
with it. I also used it to create my banner and avatar. I used this great
tutorial to learn more about the features of The Gimp:
http://www.gimpguru.org/Tutorials/
. I’ve taken what I’ve learned, and
applied it to my item images. I thought that this information might be helpful
to others, which is why I decided to create my own tutorial.

If you don’t already have The Gimp – get it! You can download it for FREE here:
http://gimp.org/

HOW TO USE THE GIMP TO ERASE THE BACKGROUND FROM YOUR IMAGE


1. Open The Gimp
2. Click File --> Open
3. Select the picture you wish to edit. Click Open
4. Type Ctrl + L to bring up the Layers Dialog box
5. Click the Duplicate Layer button
6. In the Gimp Toolbox, select the Lasso tool
7. HERE’S WHERE THE WORK STARTS: Using this tool, select your item. The closer you get, the less work you’ll have to do in the next step. What I’ve found works for me is to do a not so exact selection first, just to have a starting point.
8. Then, zoom in. Hold down the SHIFT key to ADD to your selection. Hold down the CTRL key to REMOVE from your selection. This takes some time, but it is worth it!
9. Now we are going to create a mask. Use the fill tool to fill in your selection with black.
10. Make sure that "Fill whole Selection" is selected.
11. Now type CTRL + I to invert your selection.
12. Change the color to white and fill in the selection
13. Type CTRL + A to select all. Type CTRL + C to Copy (we’ll need this in a minute)
14. Bring up the Layers Dialog box (CTRL + L). Click the New Layer button to create a new layer.
15. Change the layer name to “Mask” (optional) and select “White” for the background color. Right click on the layer that you just created. Select “Add Layer Mask”. Be sure that “White (Full Opacity)” is selected.
16. Type CTRL + V to paste the selection into the mask
17. Click on the “eye” next to the “background copy” layer to make it invisible – we no longer need it. (You could even delete it if you're so inclined)
18. Click on the anchor button to anchor the mask.
19. NOW FOR MORE WORK – Zoom in close to your image. Using the brush tool, erase any remaining background. I like to use a brush that is large and fuzzy, and switch to a smaller brush for tight spaces.
20. Use white to erase and black to add.
21. Use short strokes to make the most of the “undo” function.
22. In order to make the edges more smooth – Click Filters --> Blur --> Gaussian Blur. The default settings work best for me, but you may want to play around with it a little to see what works for you.
23. TO ADD A SHADOW - Use the fuzzy select tool. Click anywhere on your item to select the mask. Then, in the Layer Dialog box, select the background layer.
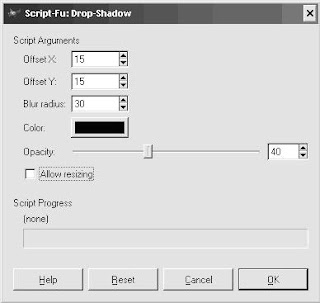
24. Click Filters --> Light And Shadow --> Drop Shadow. These are the settings that work best for me. Again, play around with it to see what you like. Be sure to uncheck the “Allow resizing” box.
That’s it! Be sure to save your image with an XCF extension so you can edit it later if you wish - filename.XCF. Then save as filename.JPG.

OPTIONAL - If you don't want the background to be white, and you'd like to change it to something else:


  1. In the Layer's dialog box, right click on the "Mask" layer.
  2. Click on "Edit Layer Mask" to REMOVE the check mark.
  3. Use the fill tool and fill with whatever color you'd like!


Part TWO: How to make a transparent background using The Gimp

Thursday, January 3, 2008

Welcome to my blog!

Hi!
I'm just starting this whole blogging thing. I have a much neglected blog on my myspace http://alaynacreations.myspace.com/ But, I thought something like this would get a little more exposure.
I am working on a tutorial of How to use The Gimp to edit your product listings for Etsy. I've been using it for mine, and I think they look pretty good! :)
I am a member of EtsyMom and EtsyBaby. Be sure to check them out! These ladies have some GREAT stuff!

I hope to be keeping this updated fairly regularly, so be sure to check back!